Creating a Scorecard
Scorecards are flexible, tabular reports that can bring together multiple questions, segmented in any way you choose. In a Scorecard table, the columns are Segments (or other groups you may choose by filtering and weighting) and the rows are responses to specific questions (or other "Scores" derived from question responses).
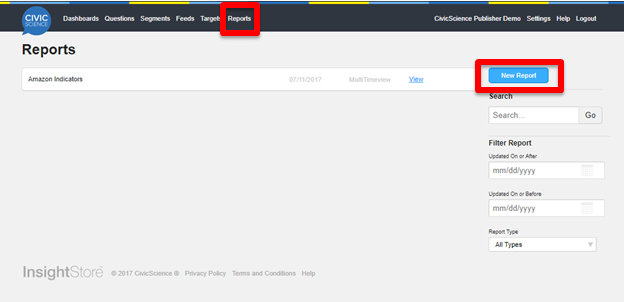
To create a new scorecard from scratch, first navigate to the Reports section and click the "New Report" button on the top right. On the next page, select the "Scorecard" option.
Naming the Scorecard
The first step in creating a Scorecard is giving it a name. There are 2 things to keep in mind here:
- Naming the Scorecard has no mechanical connection to configuring that Scorecard. It’s just a name.
- It’s quite possible this Scorecard will be useful to your colleagues/partners, so make sure the name is as clear and descriptive as possible.
Adding columns
Adding a column is all about configuring a group of people you want to look at. To get started, click the "Add a Column" button.

When adding a column, there are numerous options to choose from:
- Network – "My account", groups of other sites, or the total CivicScience network
- Segment – groups of people we have already defined in the Segments section of the InsightStore
- Target – specific poll placements within our sites
- Date – when was the specific question answered
- Weighting – whether you want to re-weight the data to force the sample into conforming with a pre-determined age-gender proportion scheme
After adding a column, you can choose to - but you don't have to - give the column a friendly name label.

Adding rows
After you've added the columns (filtered and weighted, if applicable) you're interested in, you'll want to move on to adding some rows. Scorecard rows are defined by Scores. The InsightStore automatically creates Scores for each question and you can create your own Scores, too. To learn more about Scores, click here.

To find Scores, you can use the search and filter capabilities which should be familiar to you from the Questions page. Once you've selected the Scores you'd like to add, click the "Add Selected" button. Once again, if we choose to, we can give a friend-name label to the rows we have added.
Saving the Scorecard
Once you have everything configured the way you intended, click the "Save" button.

Sharing the Scorecard
To get to the sharing configurator, click on the "Sharing" link.

By default, the Scorecards that you create are kept private and are only accessible to you. However, any Scorecard that you create can be shared with other members of your account, either with "Read Only" access or "Edit" access. (Please note that if you used Segment filters to define any of the columns, you'll want to make sure that those Segments are also shared as necessary.)
Using the sharing table, select the access levels that you wish to grant to other members of your account.
This video covers creating, sharing, and adding to scorecards.
Chat with us for support if you still have questions!
