Naming the Segment
The first thing you will need to do is give your segment a name. Try to be as descriptive and transparent as possible.
For example, a segment defined as United States, Female, Aged 18 to 34, goes to movies at least once per year might be named US Female Moviegoers 18 to 34.
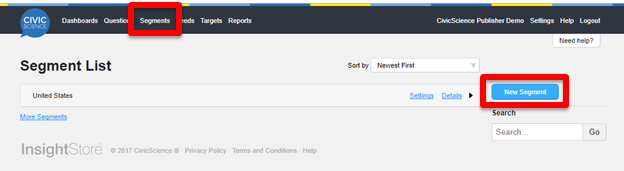
Once you have given your segment a name, click Create.
Defining the Segment
Now that you have named the segment, the next step is to define the segment. In the InsightStore, this is done by adding constraints.
To add a constraint, click Add Another Constraint. There are three types of constraints:
- Geographic (based on IP address)
- Poll questions
- Existing segments
After you have configured the constraint to suit your needs, click Add.
Once you have built out the definition of your segment, you can save it. To save, click Save at the bottom of the constraint list.

Sharing
By default, the segments that you create are kept private and are only accessible to you. However, any segment that you create can be shared with other members of your account, either with Read Only access or Edit access.
Click on the Sharing tab under the Settings of your segment.
Using the sharing tab, select the access levels that you wish to grant to other members of your account.
Once you have configured the access levels, click Save to save your changes.