There are three ways to create a new dashboard.
Create a Blank Dashboard

To create a blank dashboard, select Dashboard from the left navigation bar.
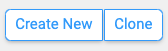
Click the button in the upper right corner labeled Create New.
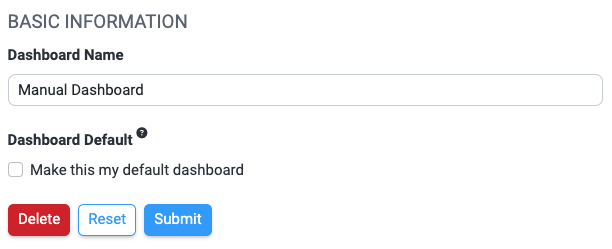
Next is this modal:

Give the dashboard a descriptive name and click Submit. (It can be renamed easily later.) After saving the name, the Basic Information for the dashboard will be displayed.
The dashboard name can be changed on the Basic Info tab under Settings. The Sharing and Email tabs are discussed elsewhere.
Any changes you make will take effect after hitting Submit. Clicking on Results will take you to the main dashboard screen.

Create a Dashboard from a Link
 The second way to create a dashboard involves finding any of the + Add to Dashboard links scattered throughout the InsightStore. I've selected one at the bottom left corner of a question.
Clicking that link results in this modal:
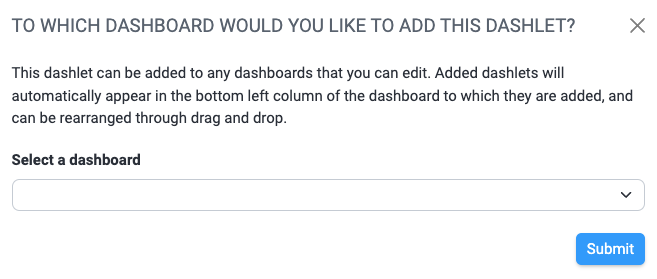
Clicking on the dropdown list, the first option is - Create New Dashboard -.

Selecting that option adds a new field to the modal where I can enter a name for the new dashboard.


After entering the new name, I click Submit to create the new dashboard. A green area appears above the question data with the message Dashlet successfully added to your dashboard!
When I click on the list of dashboards at the top of the dashboard page again, I see my new dashboard listed. It contains a question results dashlet for the question I chose.

Cloning a Dashboard
The third way to create a new dashboard is by cloning an existing one. Cloning allows you to make a complete copy of a dashboard and then make changes that won't affect the original.
Select a dashboard from the list and click the Clone button in the upper right corner to clone a dashboard.
Video on Dashboard Creation
Here's a video on creating a dashboard and adding dashlets.