Creating a network is easy, but it isn't something that you will do very often. These steps will walk you through the entire process:
- Go to Settings in the top navigation bar.
- Click on the Account tab
- Select the Networks tab
- Click the Create a Network button
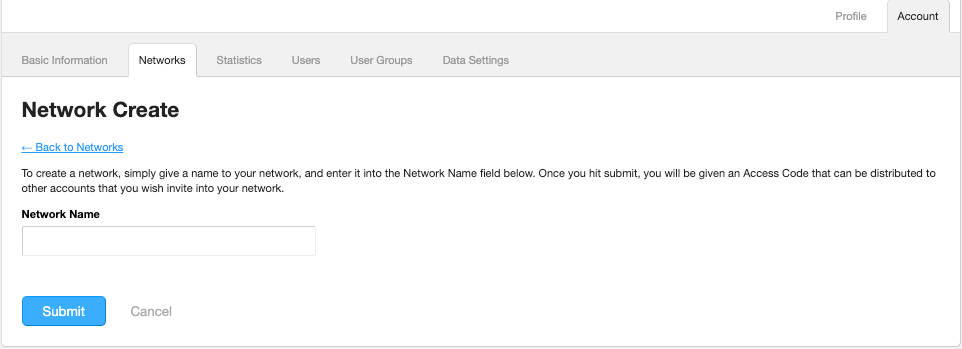
Give your network a name. All network members will see this name, so try to make it short but descriptive. After you have named your network, click Submit.
Once you have created a network, you will be given a long string of random characters. That's the unique access code that is used to bring other accounts into your network. Provide the access code to the administrators of those accounts.
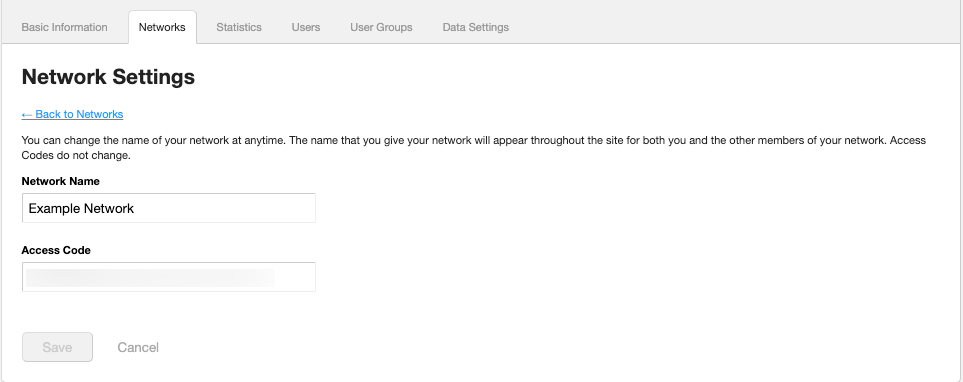
To see the access code in the future, click on Details to the right of the network's name in the list of networks.
